I decided it was time to get my selvedges used so I picked a selvedge block to have my bee mates in the Bee Europa group to make for me. I am super excited! When I had this idea, I made three blocks myself quickly. We won’t talk about the fact that for two of them I used foundation paper to piece the selvedges. Yeah, that will have to be ripped off at some point and I’ll have to figure out how to still use it. Or maybe I’ll have to start over with those ones, we’ll see. Anyway here is a block I made as an example. I’ve trimmed the edges so nothing is hanging over.

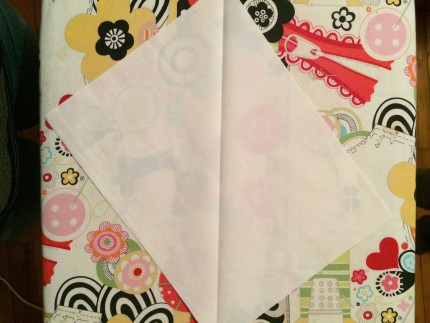
I am sending a piece of backing fabric that is 8.5 x 11 inches in size. To make this block simply fold the fabric to get a crease from one corner to the opposite corner, like this:
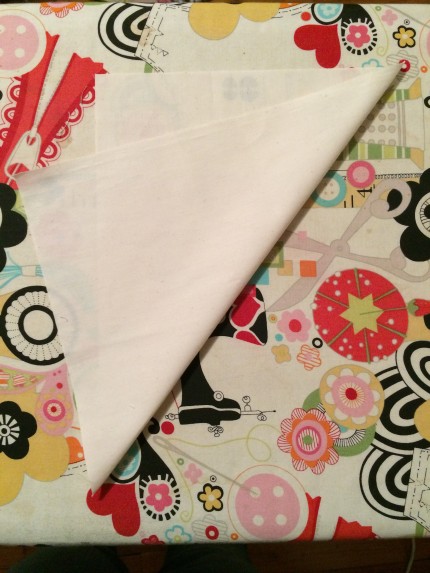
Pressing the fabric will be enough to give you a starting point. Take any selvedge that is long enough and line up on edge alone the crease. I used a few dabs of glue to keep it in place. Once that first center (or off-center as it is) selvedge is ready, it’s easy to build on the rest of them. And don’t worry about a perfect straight line from corner to corner, it’ll work out. You can see that the line doesn’t touch the corner in the second photo.
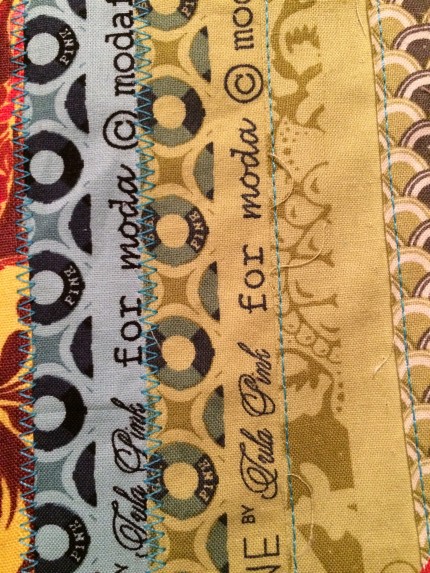
The first selvedge is held with glue, and depending on the fabric you are using, lay the next one on top or tuck it under with a small seam allowance. I’ve used both a zig zag and a straight stitch to secure the selvedges in place.
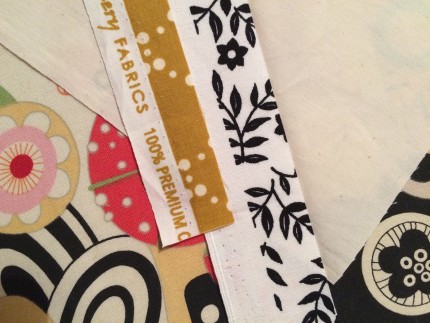
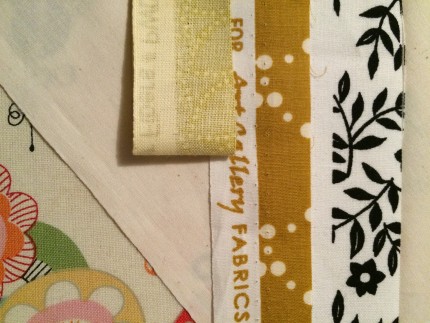
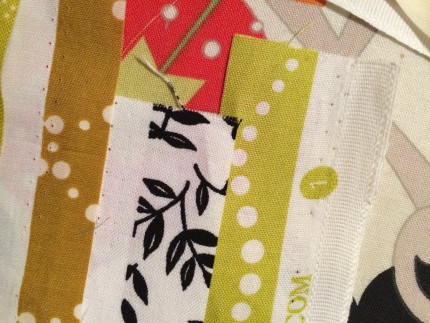
These are not sewn down, but I just wanted to show how to do the layout. I don’t want a quarter inch seam allowance as that would cover up the fabric info, which is an element to using the selvedges in a project. The first picture shows the art gallery fabric laying on top of the black and white, and then the next fabric laying on the art gallery.
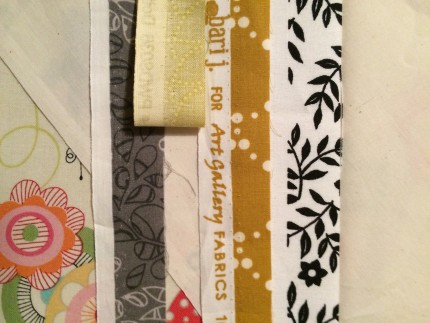
Here you can see that I tucked the grey fabric under the folded fabric. I did that because the words are printed so low on the selvedge that any fabric laying over it would cover the text. Any stitches used will also cover up the text, but less so.
Here is an example of this block as I moved the other direction and covered up the black and white that is the starting selvedge.
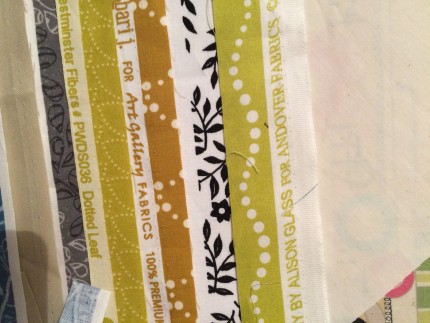
Here is this fabric lifted up to show the seam allowance.
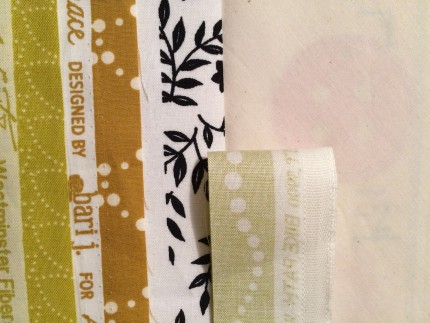
And that same fabric tucked under the fabric.
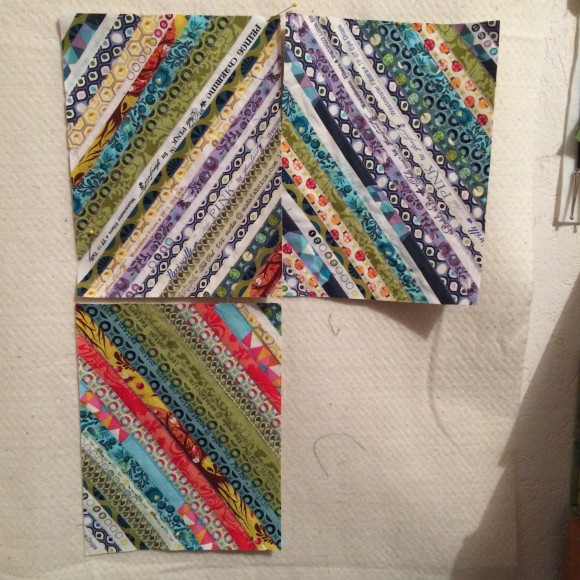
Overall I think these are simple blocks to make. Here are the three that I made, this shows the look I am going for when these are finished!
For my bee block, I am fine with a decorative stitch as long as it catches the fabric well. I’ve used a wider variety of decorative stitches when I make a pincushion with selvedges and I am unsure as to how well they would hold up in a quilt that could potentially be washed regularly, but I am not against something that you think looks good.
I am also fine with not using white or neutral thread, I used a bright turquoise in the block I shared here, any thread that goes with the fabrics is fine with me.
I prefer that a piece of selvedge that shows the text or the color circles to be shown.
Working with selvedges can feel a bit fussy because sometimes they aren’t totally straight, usually this happens with solids versus print fabrics. I tend to use smaller pieces of these in a corner instead of one of the center pieces as they are too wavy to control. The smaller piece can be straight.
The foundation fabric can be used as a guide to trim the block.
Leave a Reply