Sometimes when I see a new to me craft or quilt idea, I just go try it versus reading and rereading the instructions. This was one of those times. I read that someone melted Perler beads into metal Christmas ornaments and I thought, “I can do that!” Here’s what happened.
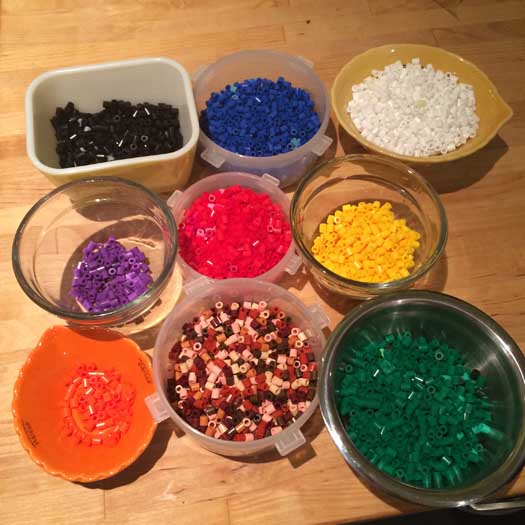
After buying two packages of beads at the local toy store, my family decided we should separate them into color groups.
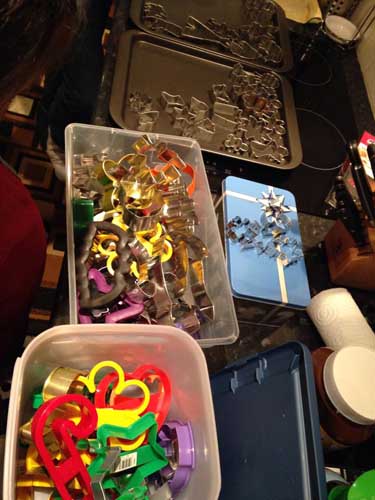
We picked out the cookie cutters we were interested in using. This is my collection of the last 14+ years – including packages of the Wilton like the link sends you to, singles I bought at Christmas markets, and others I ordered specially. Making cookies during the holidays is a really fun family tradition and I try to go all out.
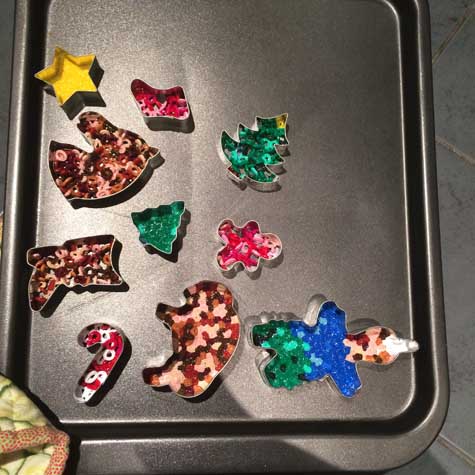
And we got to filling them in! I have a lot of different shaped cookie cutters – cowboy boot, horse, lightbulb, various gingerbread men and women, a tipi, a buffalo.
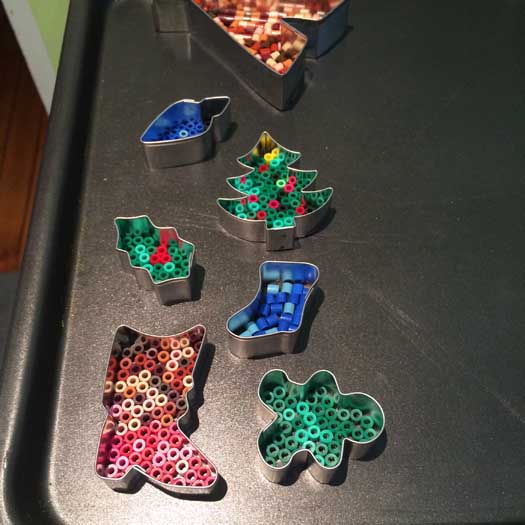
Since I didn’t read the instructions anywhere, we tried standing the beads up, laying them all down, and pouring them in. Cool tipi cookie cutter.
Once they were baked in the oven (we did make the mistake and cook some higher than the rest. I recommend 175F and after a few minutes check to see how long is a good amount of time. It doesn’t take long, five to seven minutes.) I put them in the freezer to quickly cool. This didn’t change how they looked, it just let us use the cookie cutters again a few minutes faster.
And after what felt like forever, we finally finished.
And we ended up with 90 ornaments.
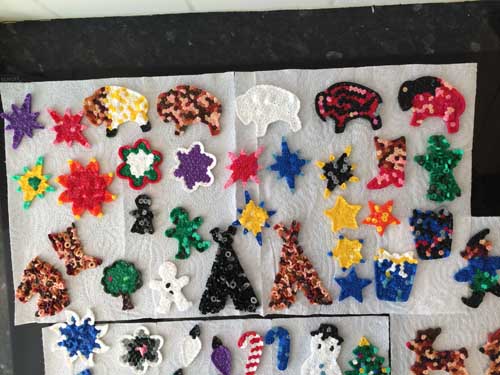
There were a few ways the beads came out. If they were standing up and the oven wasn’t too hot, they melted uniformly. That’s how most of them look.
But we had the oven too hot a couple of times, and this caused the beads to both melt down and bubble. See the black and grey flower with the white outline above, with the pink center? The pink center bubbled so it’s kind of a blob. I pushed it back down so it’s flat, but it did mess up the pattern.
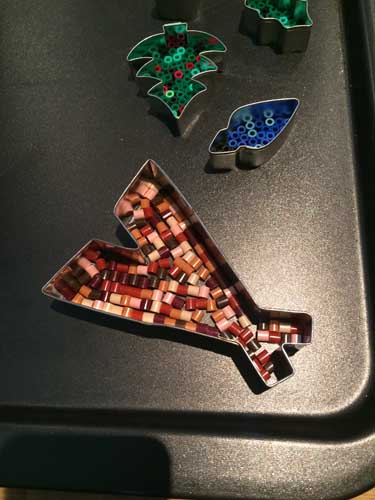
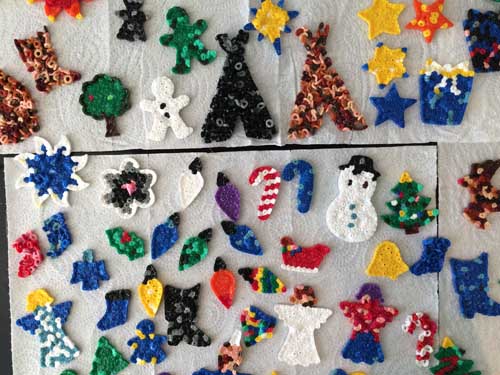
This is what they look like if you pour the beads into a cookie cutter and fill it up about halfway or so. The beads are not standing up in this case, so they are not melted together, but merely just melted. Not even melted, but just squished out and turned into little o’s. I really like this look actually, the horse and snowman below are so cool looking!
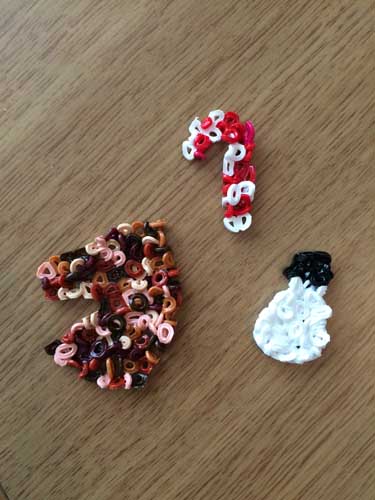
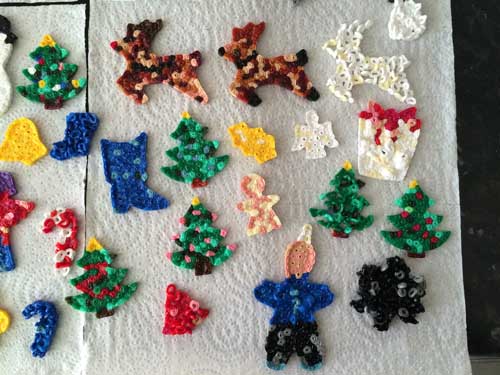
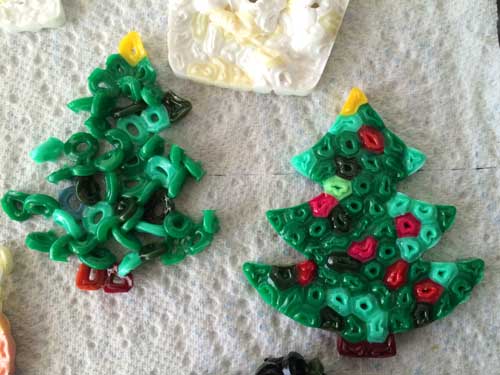
And here’s what they look like if they are laying on the side versus standing up. Standing them up did give them the chance to melt nicely. Depending on the shape and how many beads were put into the cutter, the shape looked good like the horse above or looked just a little bit off like the tree below. The tree still looks good! But it could have looked better, these two are the same shape.
We have 90 ornaments and maybe a dozen Perler beads left. Not counting the few we found after we swept the floor.
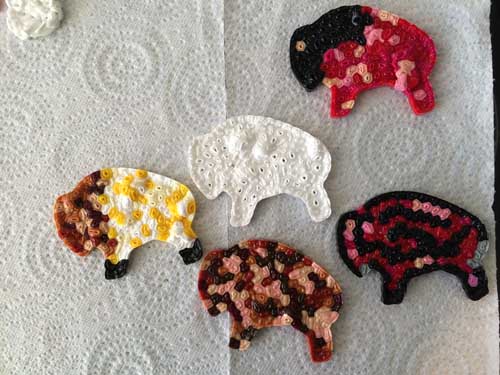
And of course a shout out to the Buffalo nation!
Have you ever made anything with Perler beads? This is super easy, but time consuming depending on how detailed you get. And it does take time to make the beads stand up, we used chopsticks because of course our fingers are too big to fit into the cookie cutter.