Head over to iTunes and subscribe to Me Being Crafty so you don’t miss an episode! You can also subscribe on stitcher. Welcome to episode 050 of the Me Being Crafty podcast, where we explore creativity in your life. In this episode I am giving you an update on me! I had tech difficulties, and […]
Featured Posts

An Update On Us in Accra, Ghana, during a Pandemic
Hi. How are you? We are still in Accra. We are fine. We started staying home in mid-March, only leaving to get groceries, and even then that was rare as the grocery stores moved to delivering. Now it’s mid August. We are still staying home for a majority of the time. Our youngest has left […]
What Are You Reading? Seven Books for your List
I can’t concentrate. I can’t focus for long enough to sit and read and enjoy a book. I’ve turned to audiobooks, to “ear read” during this time. Audible and I became fast friends. If you are on Goodreads, let’s connect! I set my reading challenge for the year at 27 books, I figured I could […]
Shelter in Place in Ghana
Let’s get this out of the way – the way we live while living in Ghana is SO vastly different compared to Ghanaians. And so we sheltered in place. We have ordered from grocery stores and had fruits and veggies delivered. It’s been three weeks, and the shelter in place has lifted. The restrictions on […]
In a Time of Crisis
We are into week four of shelter at home/stay at home/quarantine/whatever it’s called. We started staying home a day or so after Ghana’s first confirmed case, school was quickly closed, and a couple of weeks later Ghana put a shelter in place/stay home order out for the larger areas of Ghana. Week one was full […]
Craft Gift Ideas
7 Fantastic Online Fabric Shops
I try very hard to support small and local businesses. I buy fabric online from a few places that I love and wanted to share in case you are looking for a new to you fabric shop! I love these shops and they all have great customer service and quick shipping methods. The Intrepid Thread! […]
Crafty Quickie’s
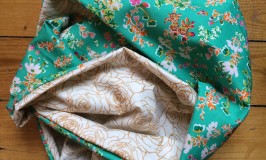
Make an Infinity Scarf
I used quilting cotton to make an infinity scarf and it came together very quickly. You don’t even need two separate fabrics if you don’t want to use separate ones. I also have some knit fabric to use so I can make a few scarves, but I have a hard time with knit. I need […]
CraftSanity Magazine Sale
You don’t want to miss this – Jennifer over at Craft Sanity is having a sale on the print and PDF versions of the CraftSanity Magazine. I love this, I didn’t realize that I needed a couple of the editions so I bought them. Jennifer’s magazine is beautiful, full of really great stories and interviews, […]
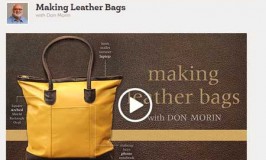
Leather Card Holder Tutorials
I really love the phone cases that we have found here* because they have a small slim wallet area to hold a few things. Not a lot fits in the space, but for my kids it’s enough for their bus and lunch cards. That is great for me because despite knowing where their phones are […]
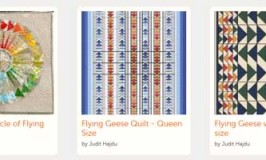
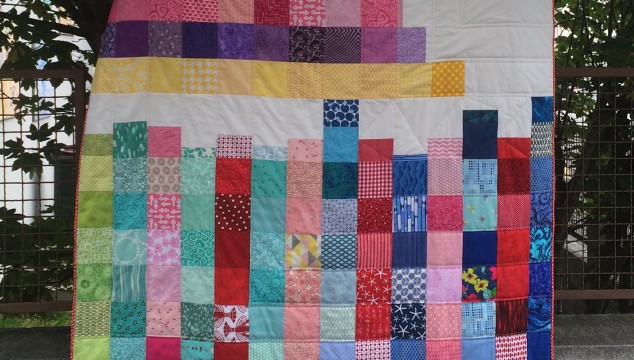
Scrappy Flying Geese
Ohhh this is such a good idea! I love being able to use up scraps (I started over with my scraps after I gave away an entire luggage full of scraps to the parent group at school) and flying geese are so fun to work with. Look at this tutorial that Heather over at House […]