I have been making so many quilt tops that I really wanted a good finish. I have a few bags that I want to make so I decided to just get to work. One of them is the Aeroplane bag. I mostly wanted this so I had something to carry my sewing machine in, even though I have only taken it to a couple of places and don’t see myself taking it anywhere else. I just jumped into my fabric and started cutting the pieces I needed. I ran into a problem because I didn’t have any thick stabilizer. I went to three stores here but none of them had any. Luckily for me, my husband happened to be in California when I was cutting my fabric so I sent him to JoAnn’s before his flight back here.
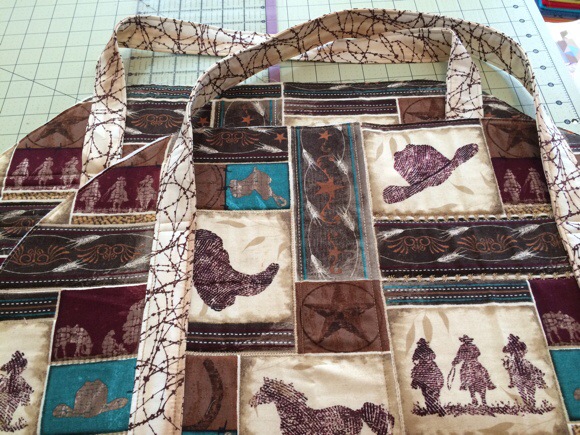
I went from just that picture – the part of the main panel and the straps – to finished in a day. I sewed alllllll day long. It was awesome. I was tired by the end, it was after midnight.
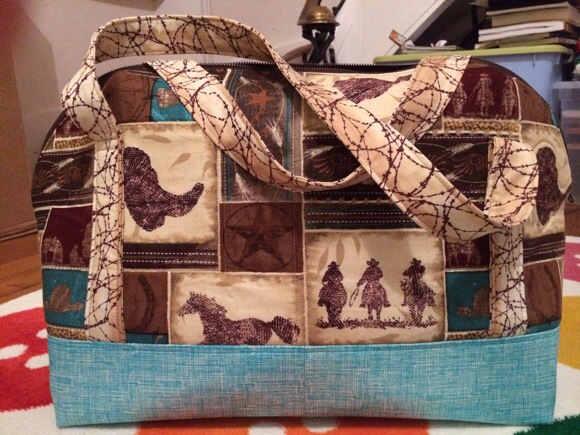
I still have a little bit of hand sewing to do, around the zippers. And then I am all done! I love this bag. It was very easy to sew. The hardest part for me was coming to the end and being sure that the outside main panels lined up correctly. I did have to take out the seams on one side of the zipper and resew to get it lined up a little better. This is a great bag, I can’t wait to need to take my machine somewhere, but I will probably use it on one of our vacations as well.